Managing Your Team
Last updated: March 13, 2026
The Team page allows workspace administrators to manage team members, invite colleagues, configure access permissions, and control certain workspace-level settings.
From this page, admins can:
View and manage all members in the workspace
Invite new teammates
Assign delegated access between users
Configure workspace-level settings such as domains and branding
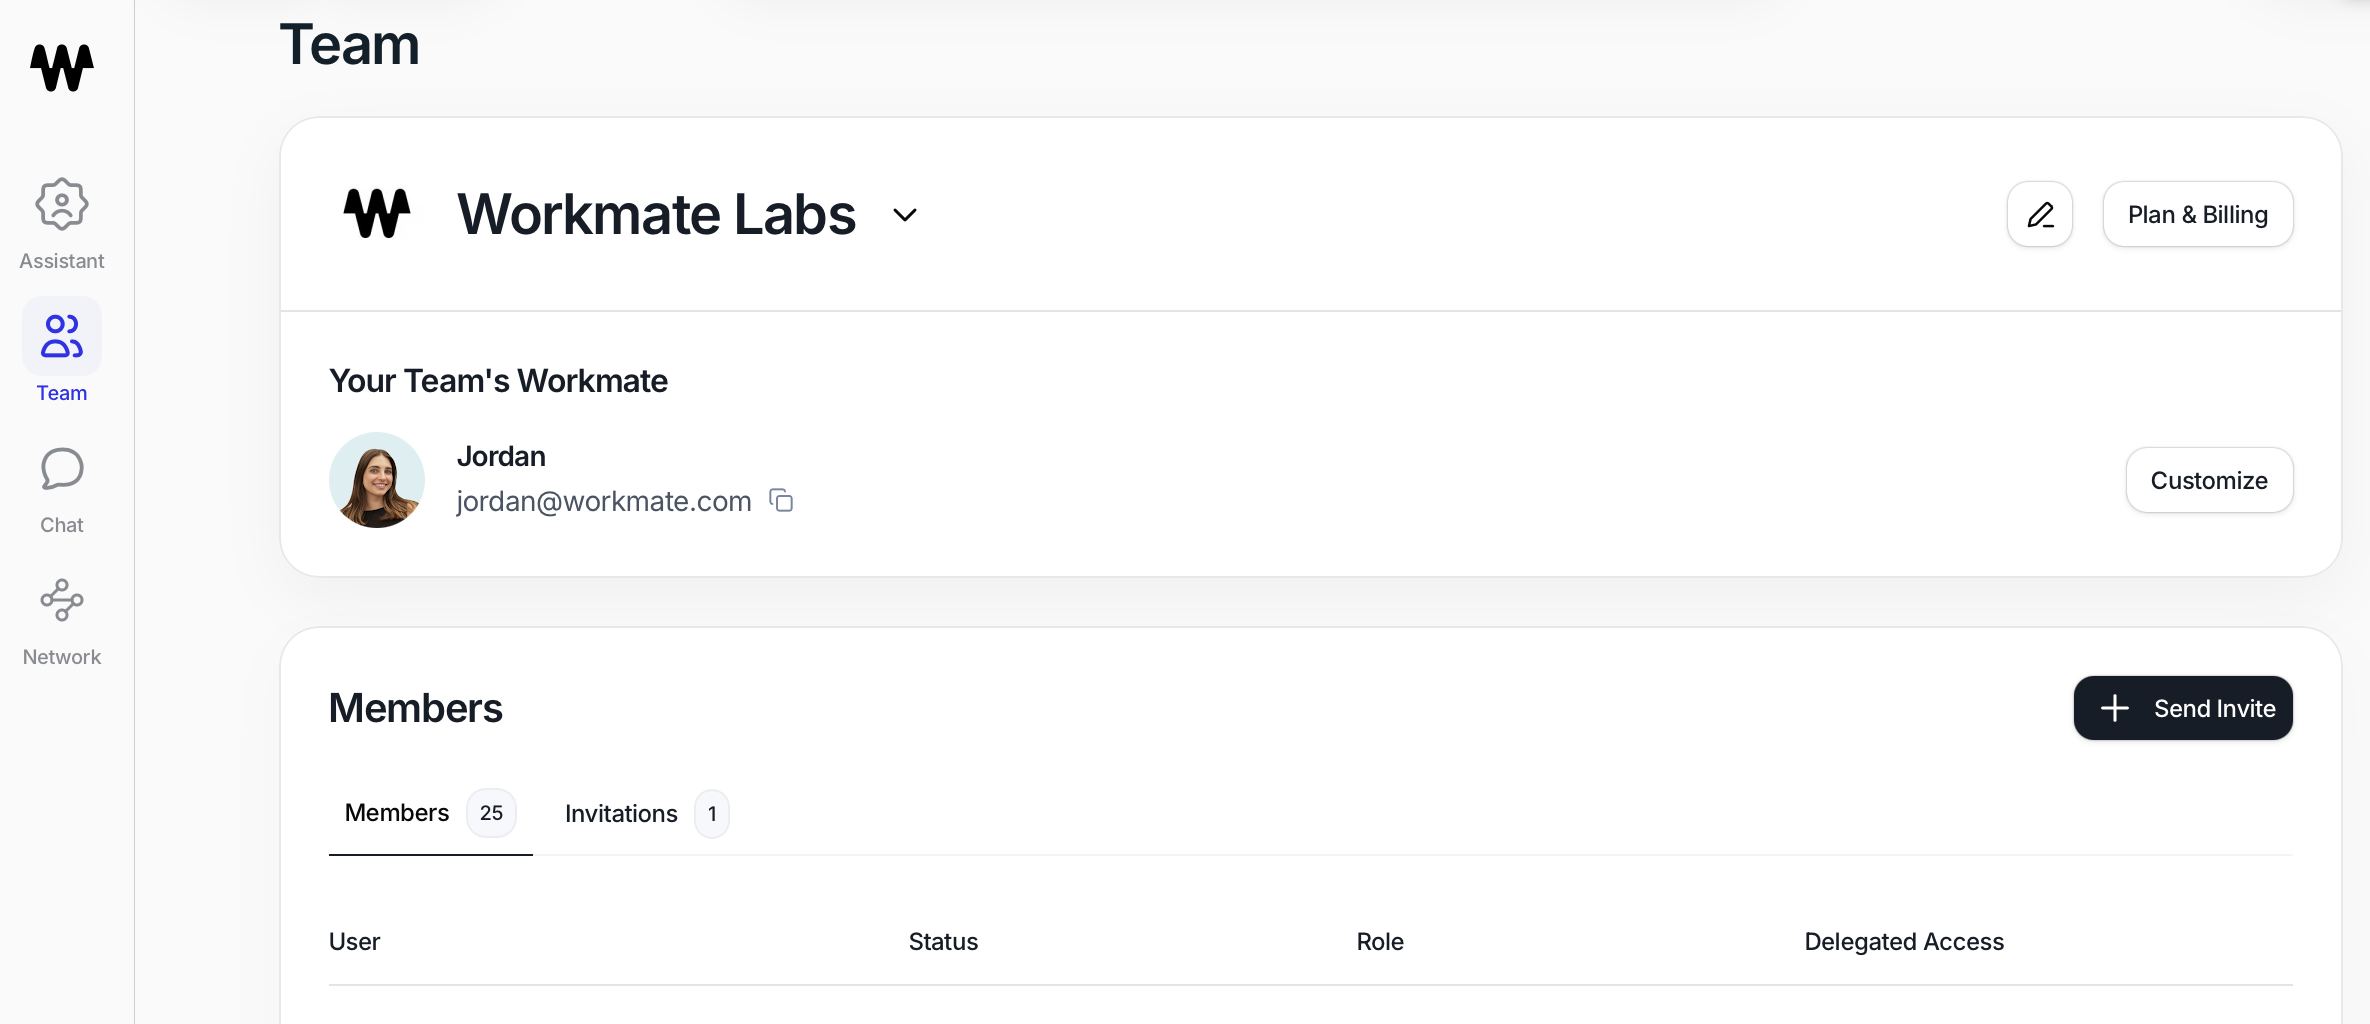
Your Team’s Workmate
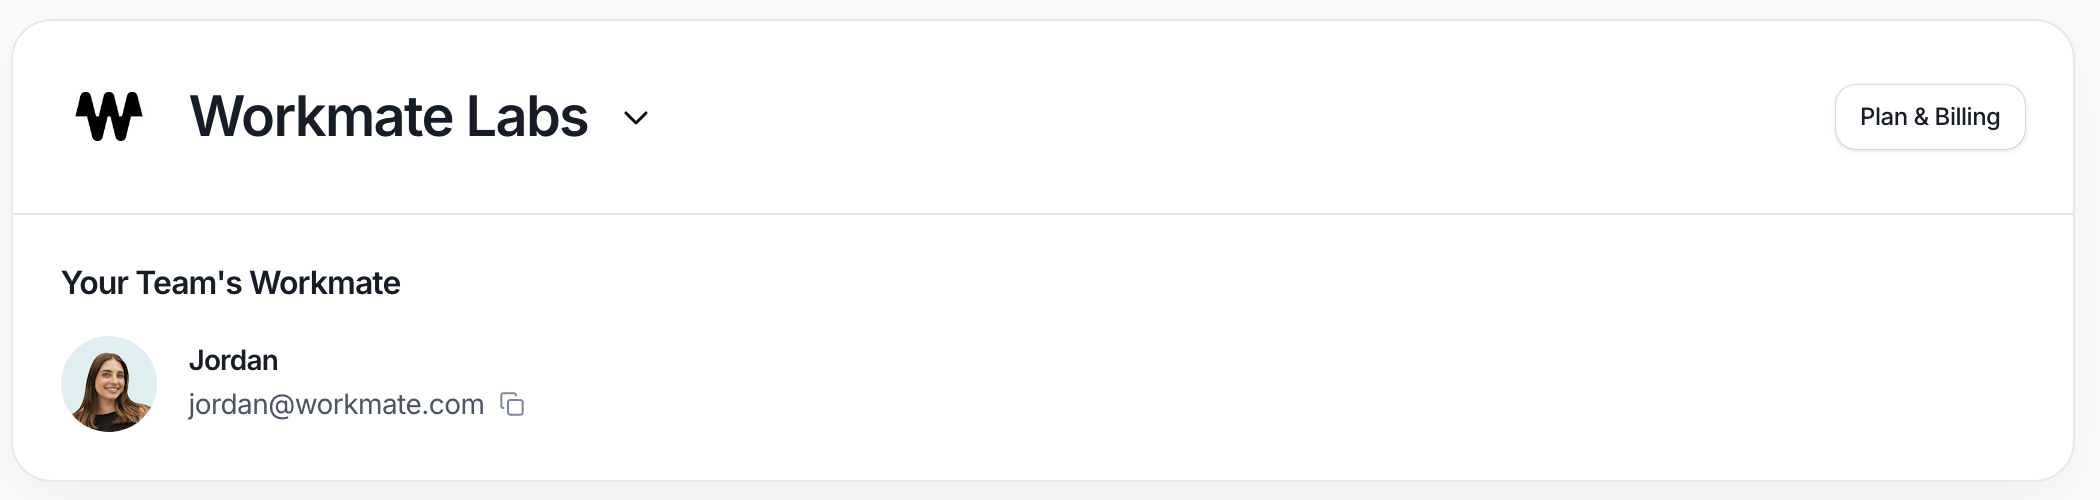
At the top of the page, you’ll see Your Team’s Workmate, which displays your shared assistant and its email address.
This is the assistant that coordinates scheduling across your workspace.
Admins can click Customize to:
Change the assistant’s name
Update the email domain used by the assistant
Customizing this allows organizations to align the assistant with their internal naming or branding conventions.
Members
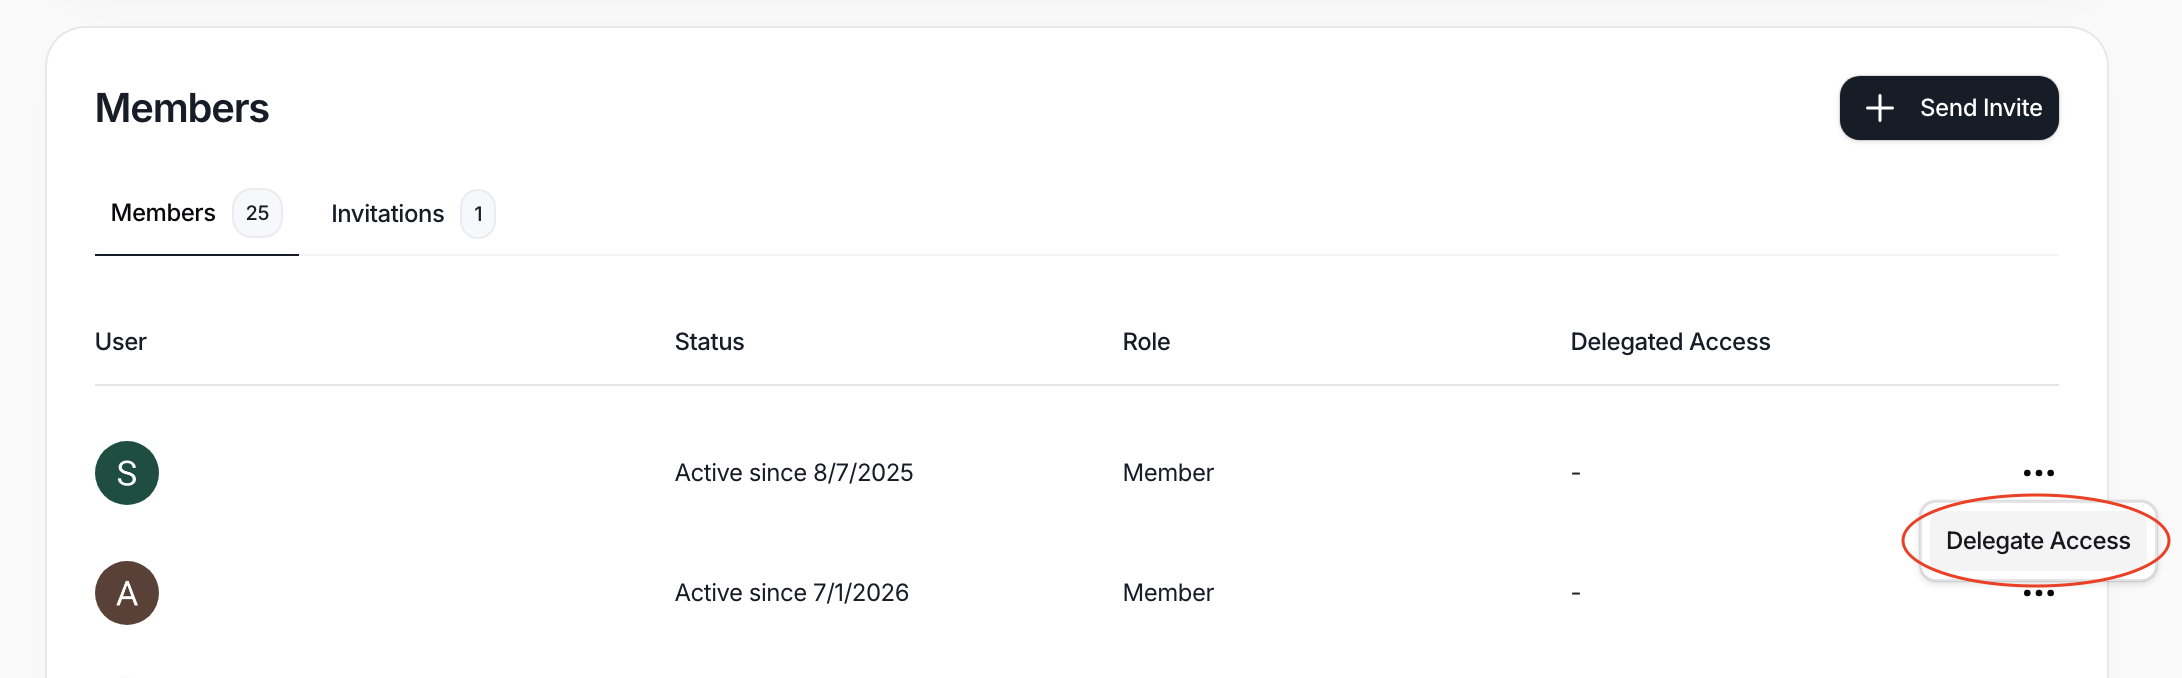
The Members section lists everyone currently in your workspace.
For each member, you can see:
Name and email
Account status (e.g., Active since date)
Role (Admin or Member)
Delegated Access settings
Admins can manage members directly from this table using the menu next to each user.
Roles determine the level of control each person has:
Admins
Manage workspace settings
Invite or remove members
Configure delegation rules
Manage billing
Members
Use Workmate normally
Configure their personal assistant settings
Schedule meetings

Invitations
The Invitations tab shows users who have been invited but have not yet joined the workspace
For each invitation you can see:
The email address invited
The date the invitation was sent
The assigned role
The current status (Pending)
Admins can resend or manage invitations from this section if needed.

Inviting Colleagues
The Invite Colleagues panel allows admins to quickly invite teammates who exist within the organization’s domain.
Once invited, new users will receive an email prompting them to join the workspace.
After joining, they can:
Connect their calendar and apps
Configure their scheduling preferences
Start using the shared Workmate assistant

Delegated Access
Delegated Access allows one user to manage another person’s scheduling activity.
This is commonly used when:
An Executive Assistant manages an executive’s calendar
A team member helps coordinate meetings for a manager
Scheduling responsibilities are shared within a team
When delegated access is granted, the delegated user can:
Monitor scheduling tasks
Adjust scheduling preferences
Respond to scheduling requests
Coordinate meetings on behalf of the other user
Delegated access is configured directly from the Members table by selecting the user and assigning who should manage their scheduling.
This feature helps teams coordinate scheduling responsibilities without needing to share email or calendar credentials.
Instant Scheduling with Colleagues
Admins can enable Instant Scheduling with Colleagues, which allows Workmate to automatically schedule meetings with coworkers whose availability is accessible.
When enabled, Workmate can:
Compare calendars automatically
Choose a suitable time
Schedule the meeting without requiring back-and-forth emails
This feature is especially useful for internal meetings where calendars are already visible to one another.
Admin Settings
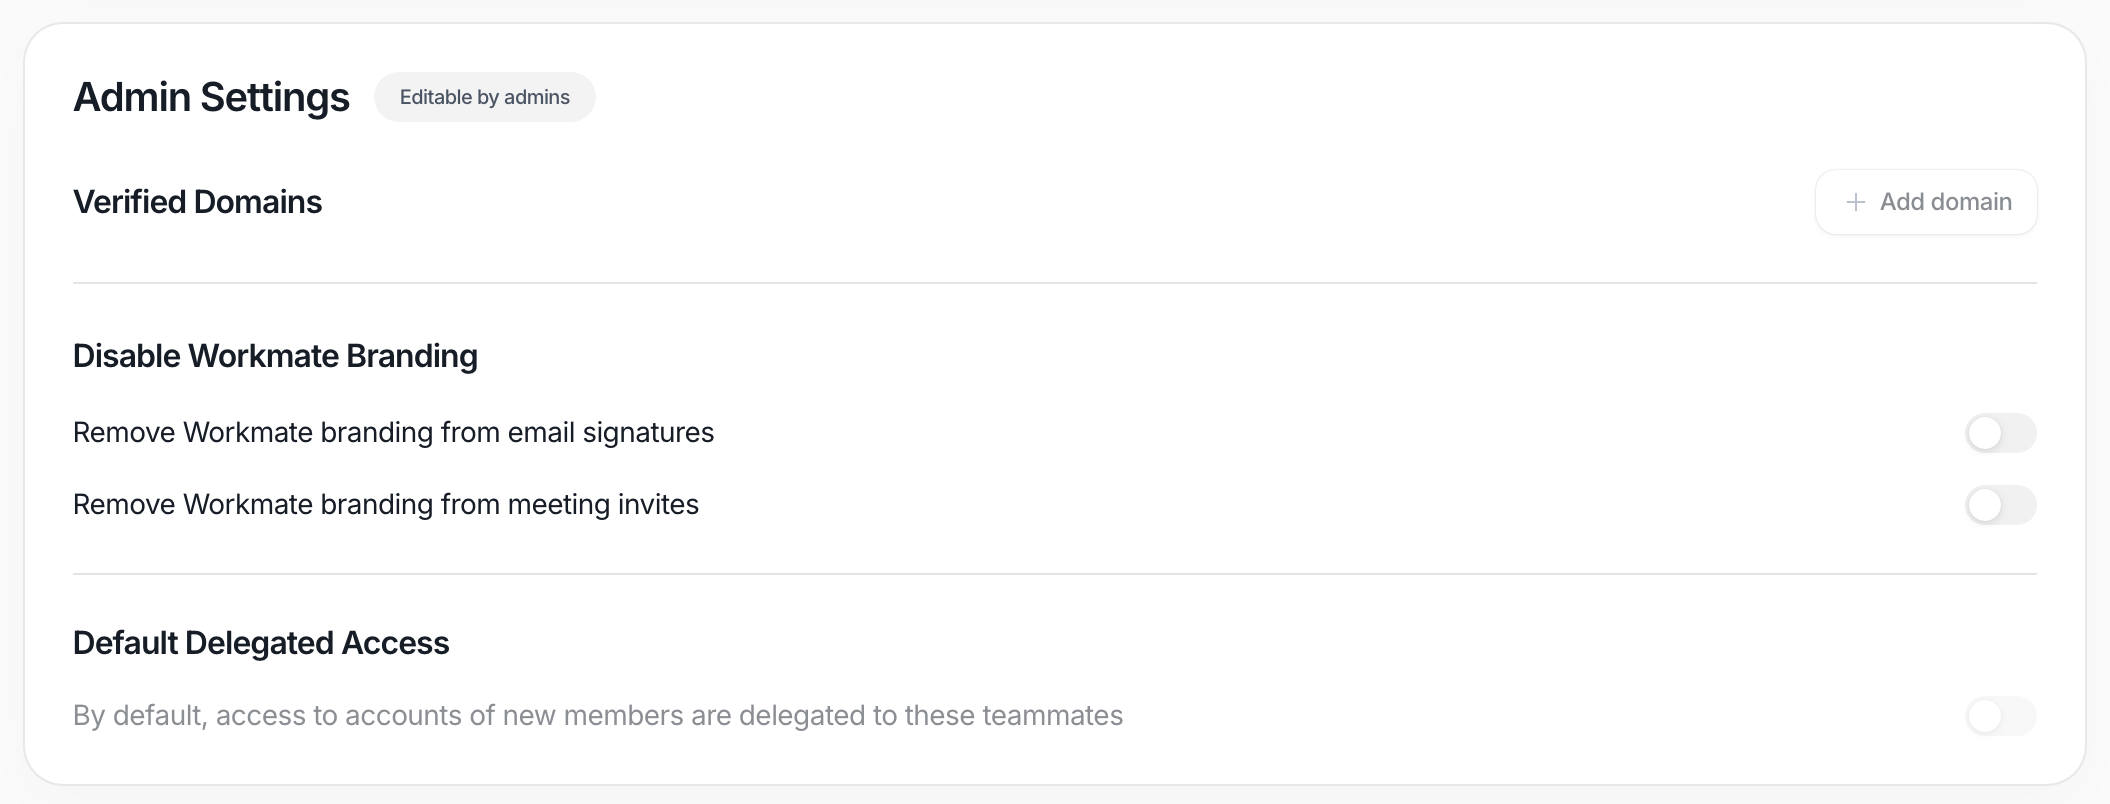
Admins can configure additional workspace settings in the Admin Settings section. These include:
Verified Domains
Allows admins to verify company email domains to ensure that only users from those domains can automatically join the workspace.
Disable Workmate Branding
Admins can remove Workmate branding from email signatures and calendar invites. This allows organizations to present scheduling messages as part of their own internal workflow.
Default Delegated Access
Admins can configure default delegation rules so that scheduling responsibilities are automatically assigned to specific team members when new users join the workspace.
Leaving a Workspace
Users can leave the workspace at any time using the Leave team option at the bottom of the page.
If a user leaves the workspace, they will lose access to shared scheduling features and team-level configurations.