Getting Started: Quick Start Guide
Last updated: March 5, 2026
Getting started with Workmate only takes a few minutes. Once set up, Workmate can begin helping you schedule meetings across email, Slack, and SMS.
Follow the steps below to set up your account and start scheduling right away.
Step 1: Go to Workmate
Visit workmate.com and click Get started in the top right corner.

Step 2: Sign up with your email account
Choose how you’d like to sign in and use the email account connected to the calendar you want Workmate to manage.
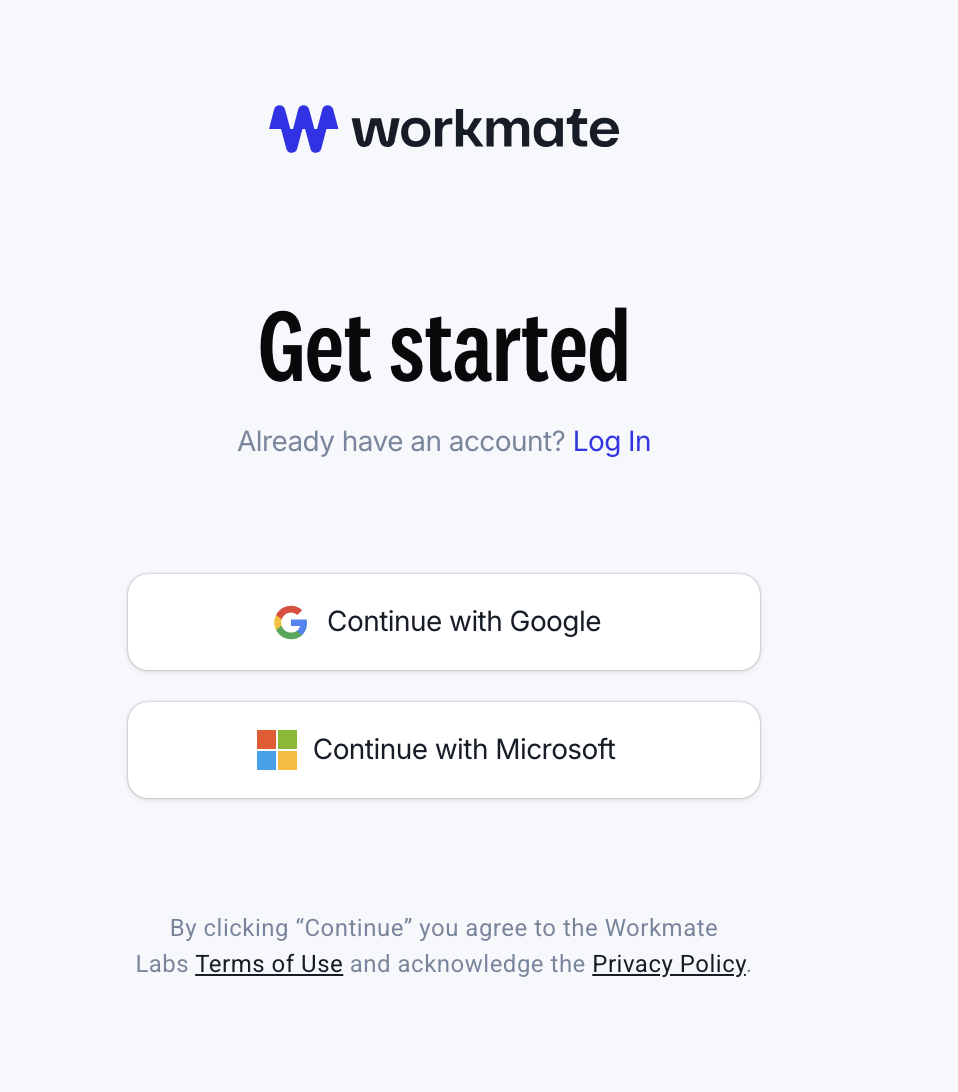
Step 3: Grant account permissions
After signing in, you’ll be asked to grant Workmate permission to access certain information from your account.
These permissions allow Workmate to:
View your availability
Schedule meetings on your behalf
Access basic profile information
Click Accept to continue.
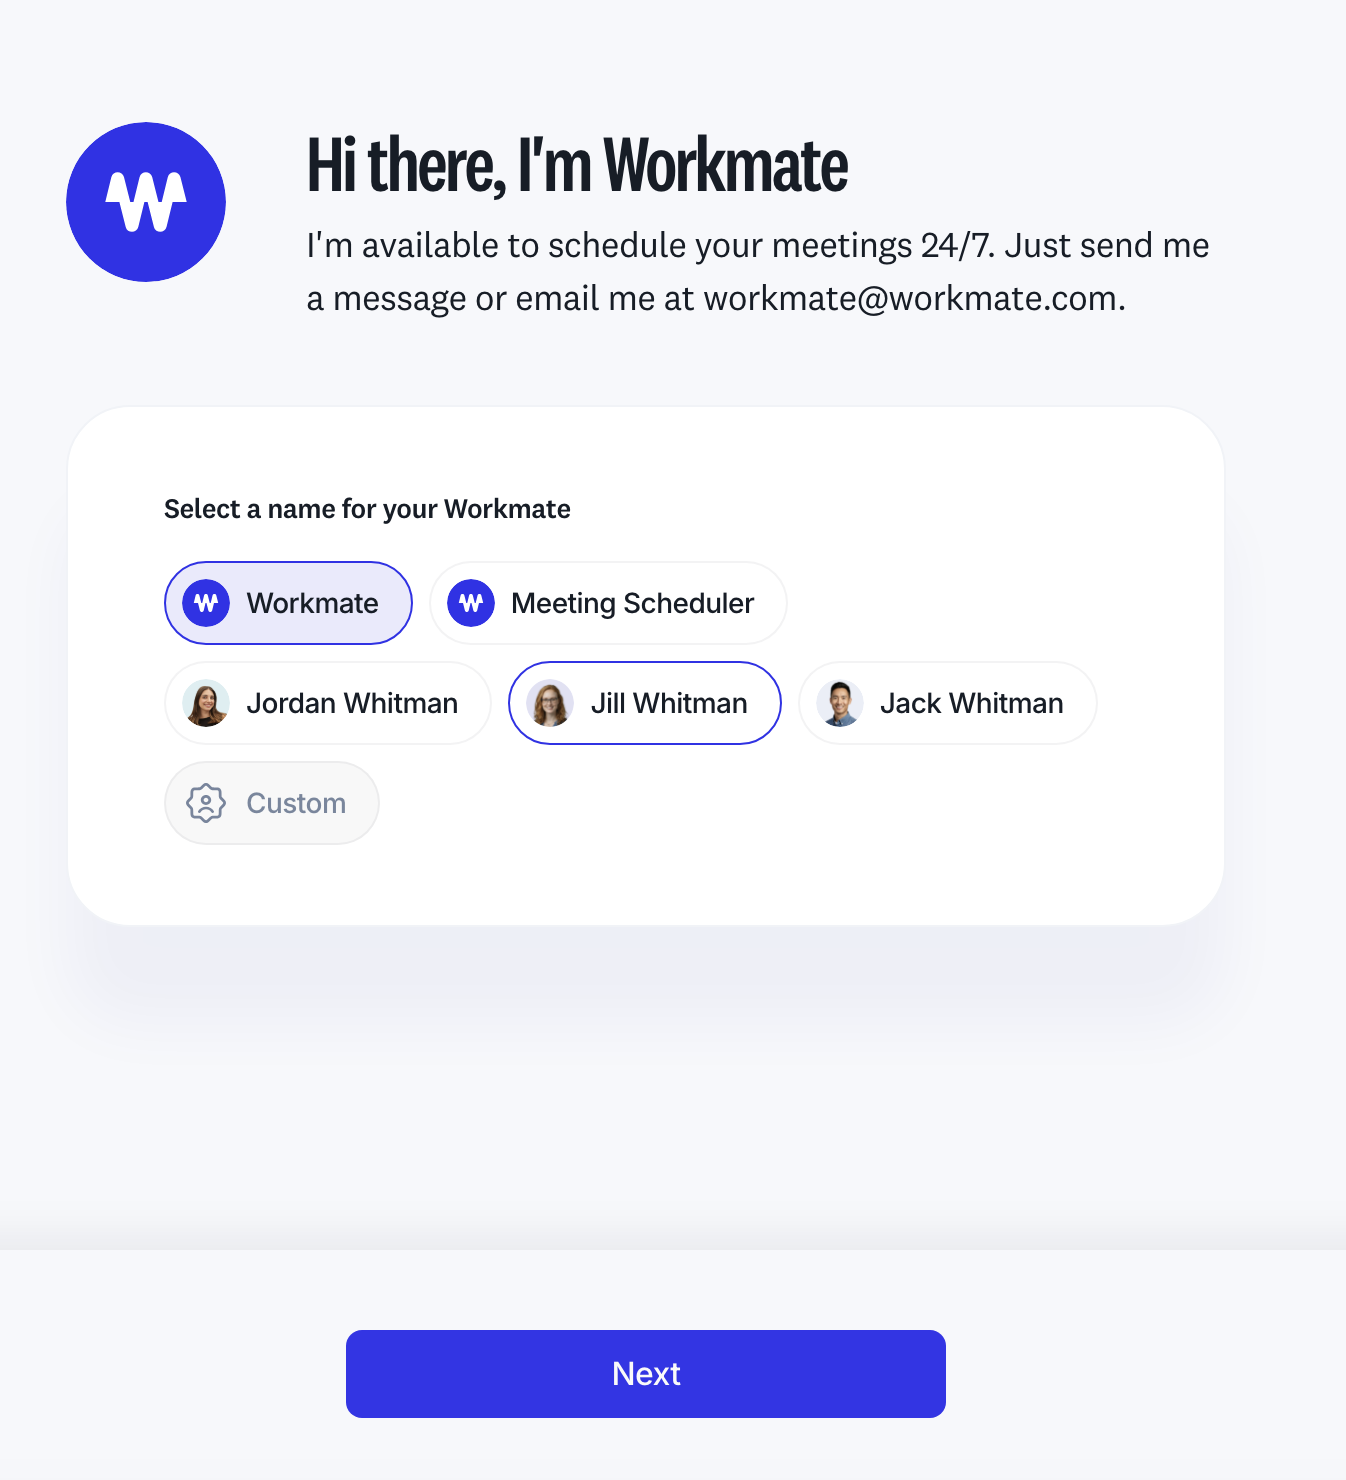
Step 4: Choose a name for your Workmate
Next, you’ll choose the name of your scheduling assistant. You may also choose a custom name. This is the name people will see when your assistant helps schedule meetings.
Click Next to continue.
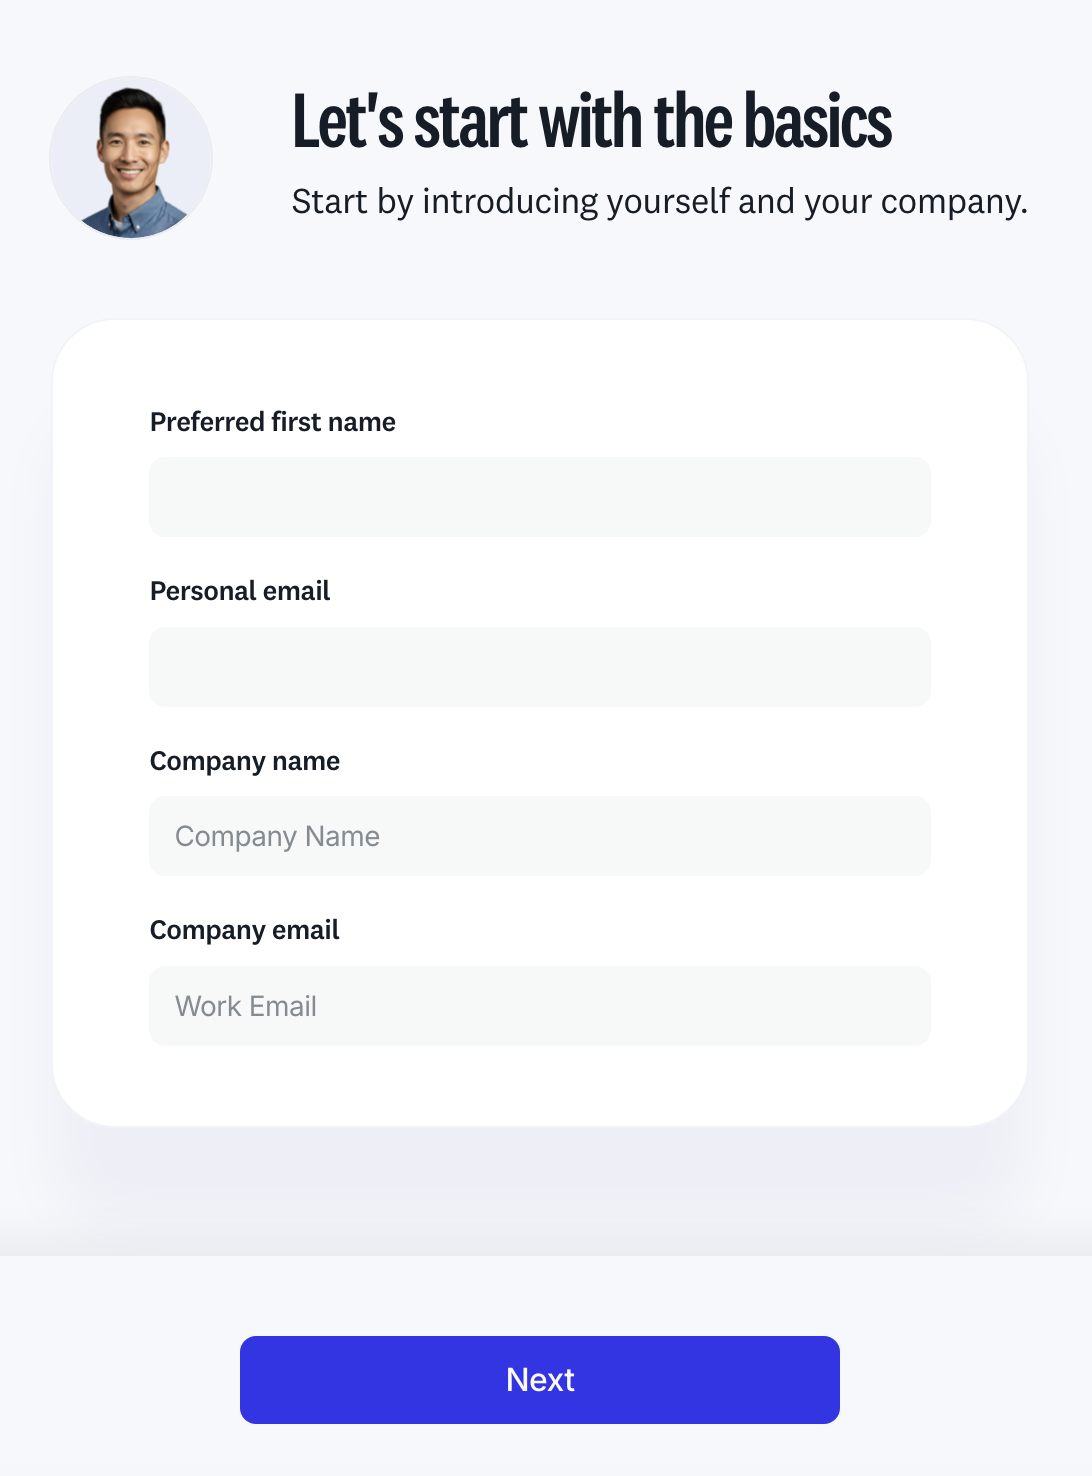
Step 5: Enter your basic information
Provide a few basic details to personalize your account. This helps Workmate understand who you are and how to represent you when scheduling meetings.
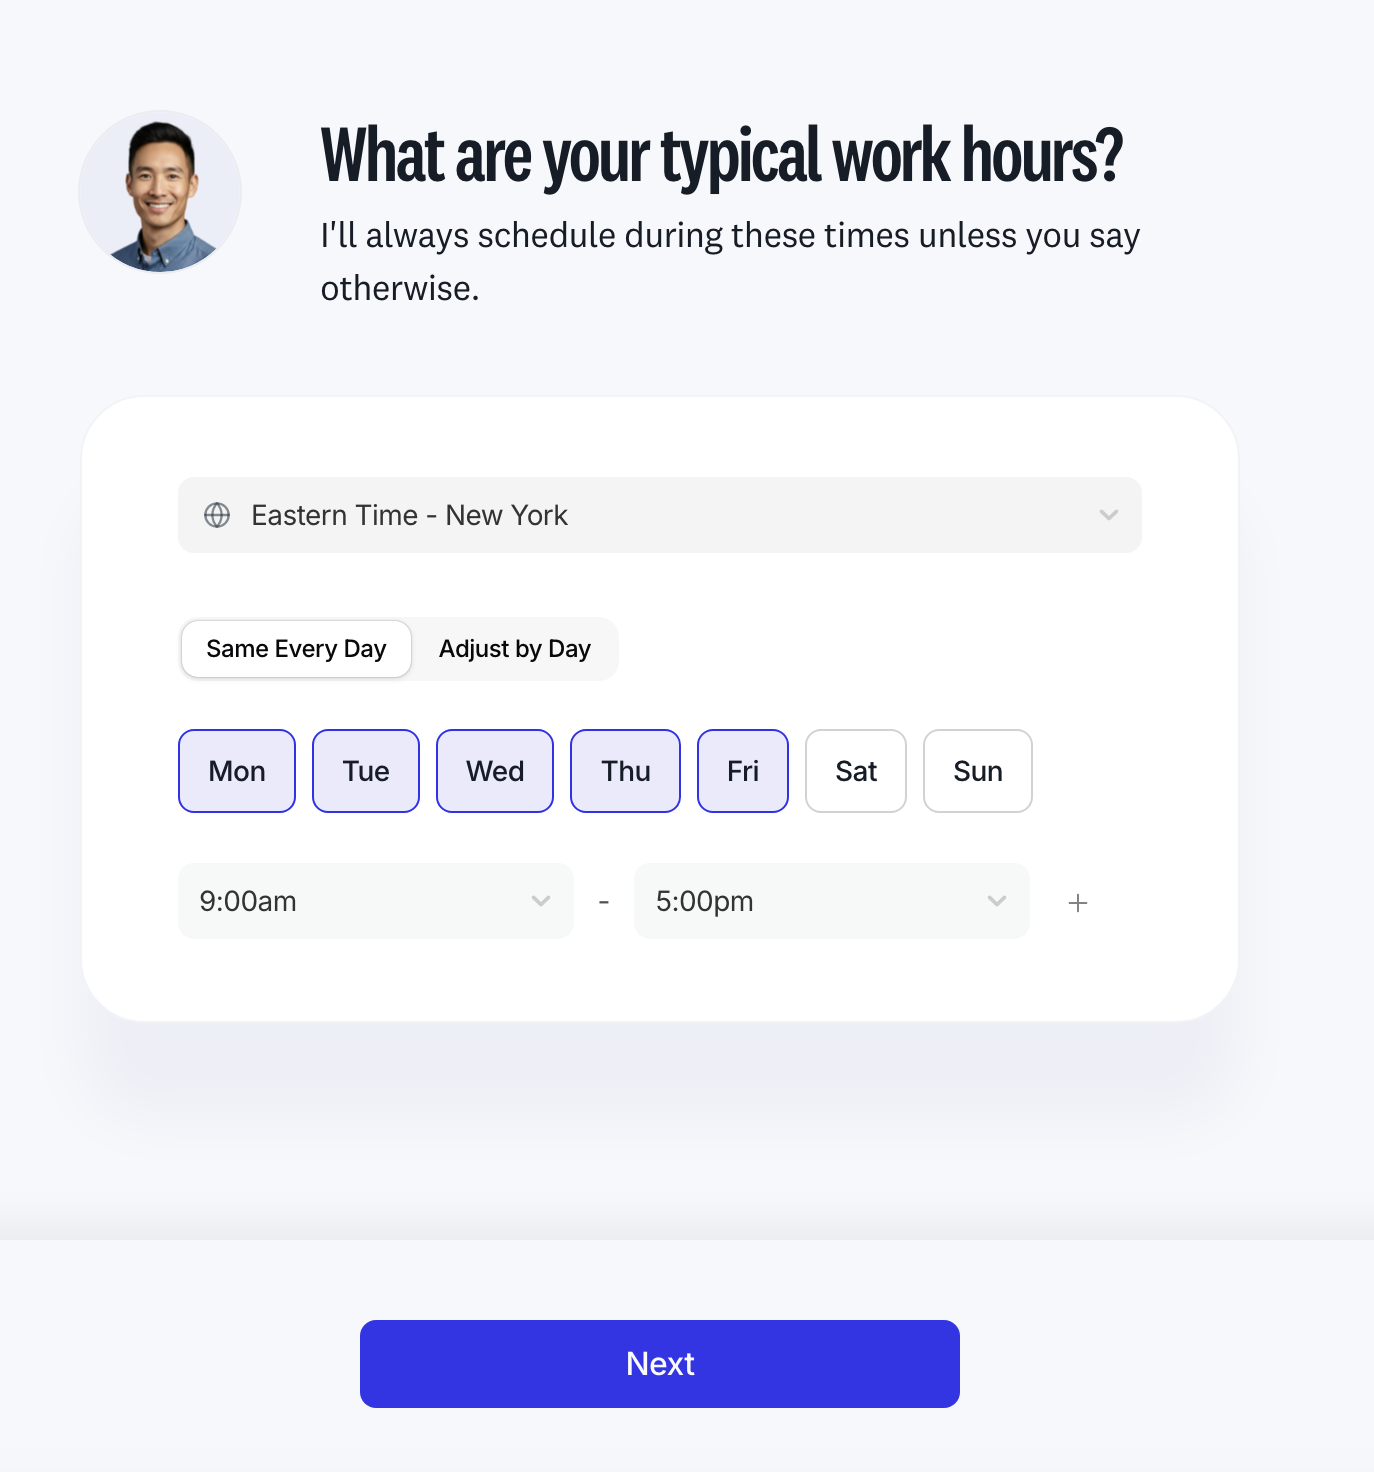
Step 6: Set your working hours
Workmate will ask for your typical working hours so it knows when to schedule meetings. You can:
Set the same hours every day, or
Adjust hours by individual day
Workmate will prioritize scheduling meetings within these hours unless instructed otherwise.
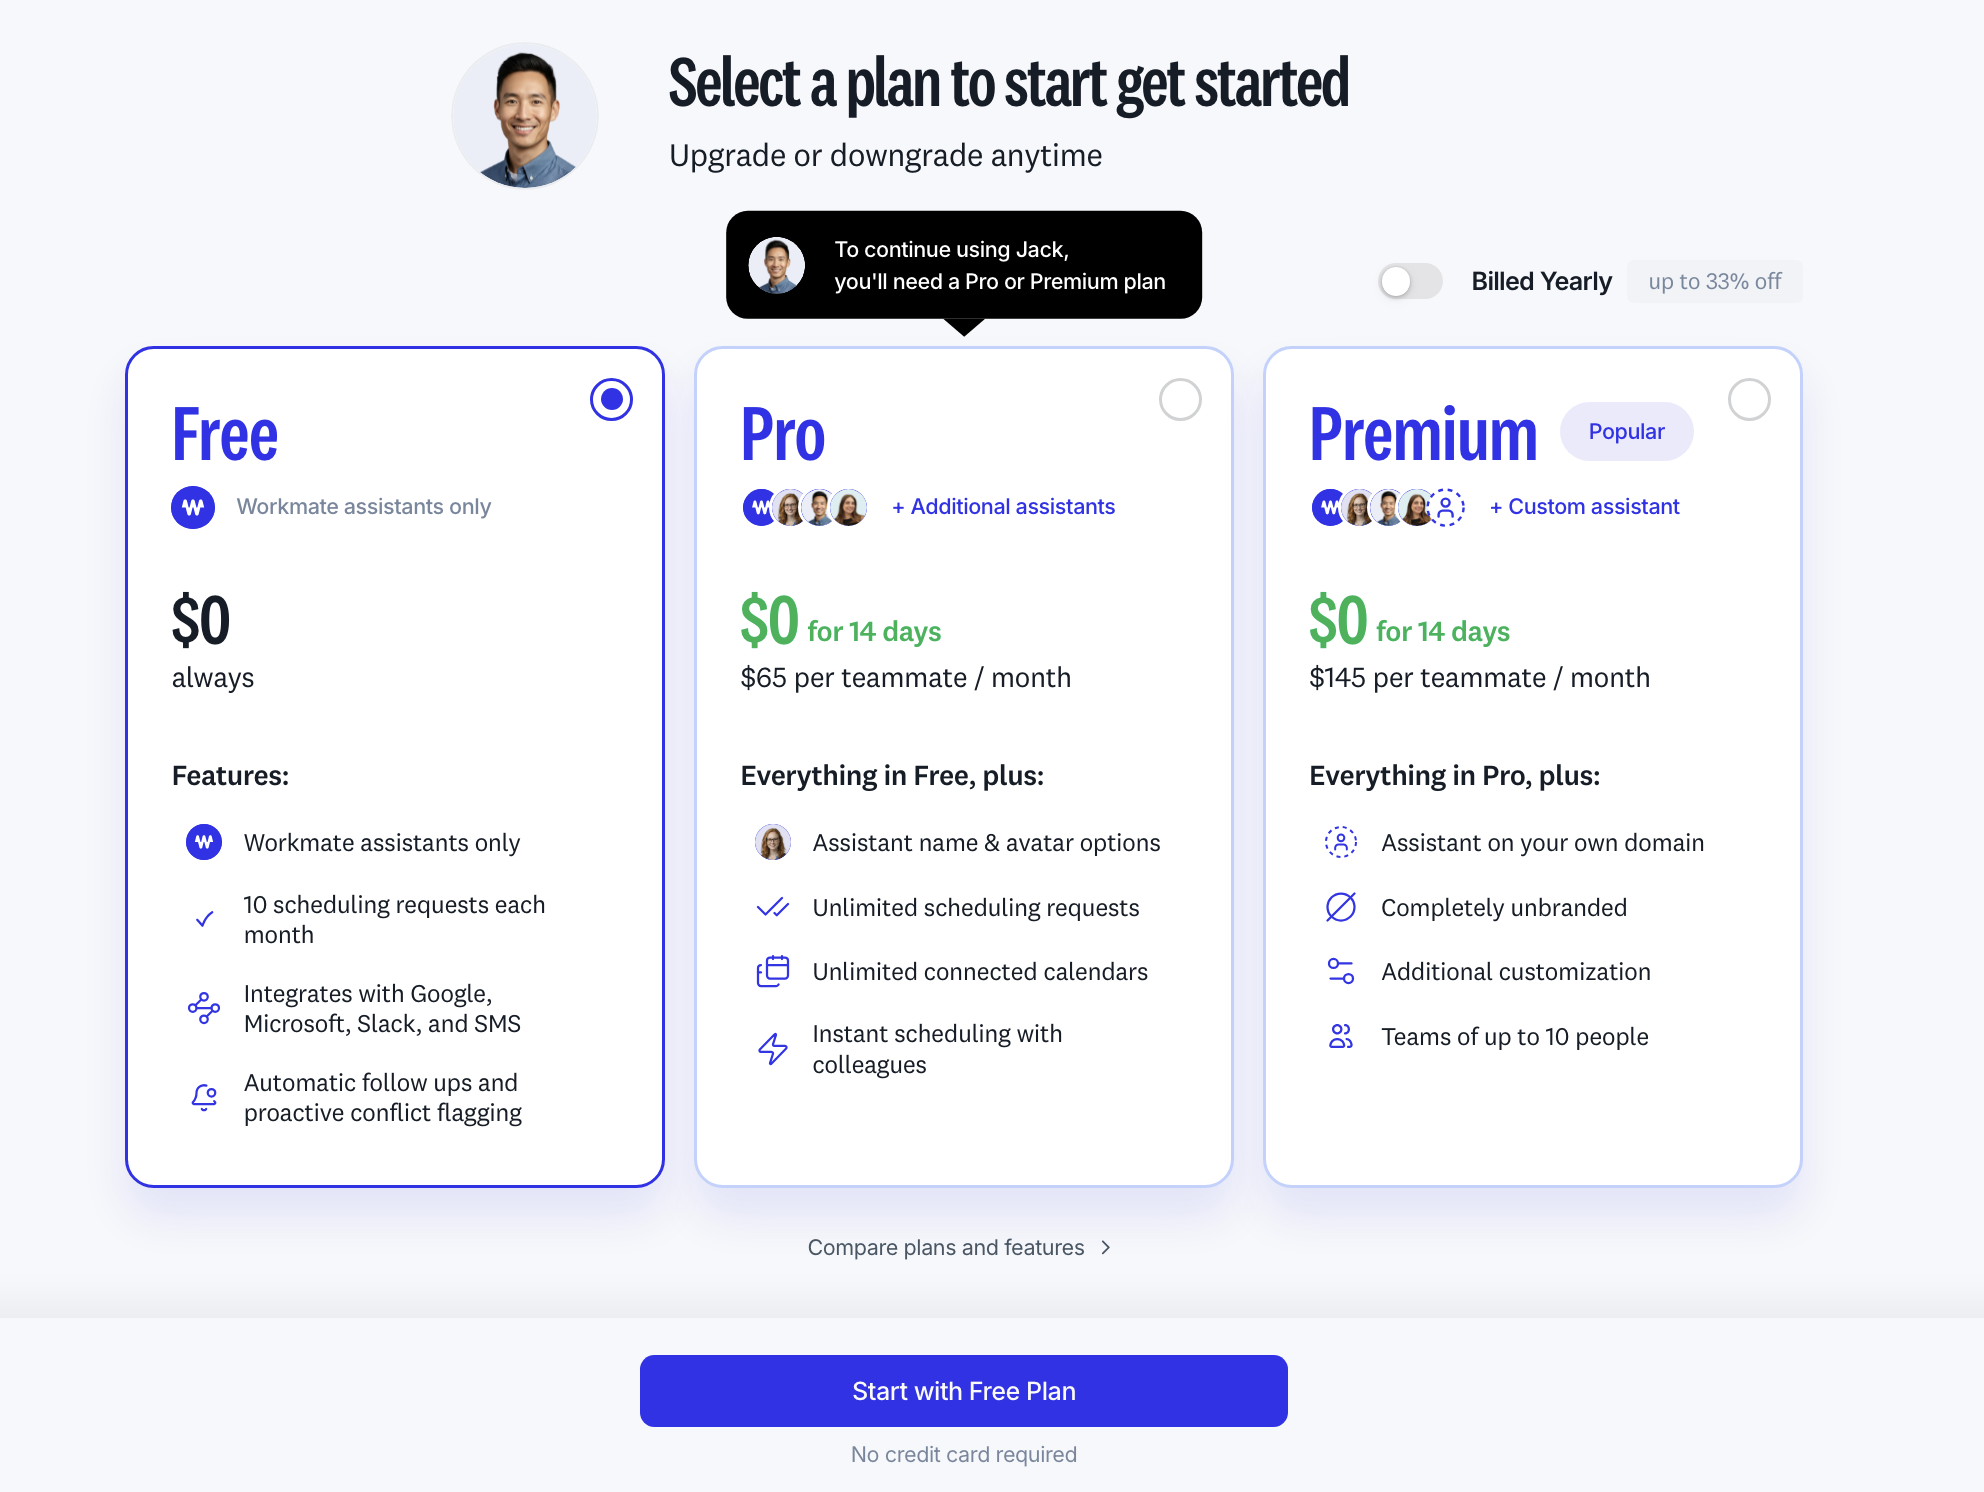
Step 7: Select your plan
Choose the plan you’d like to use. You can upgrade or downgrade your plan later at any time.
Step 8: Connect your calendar
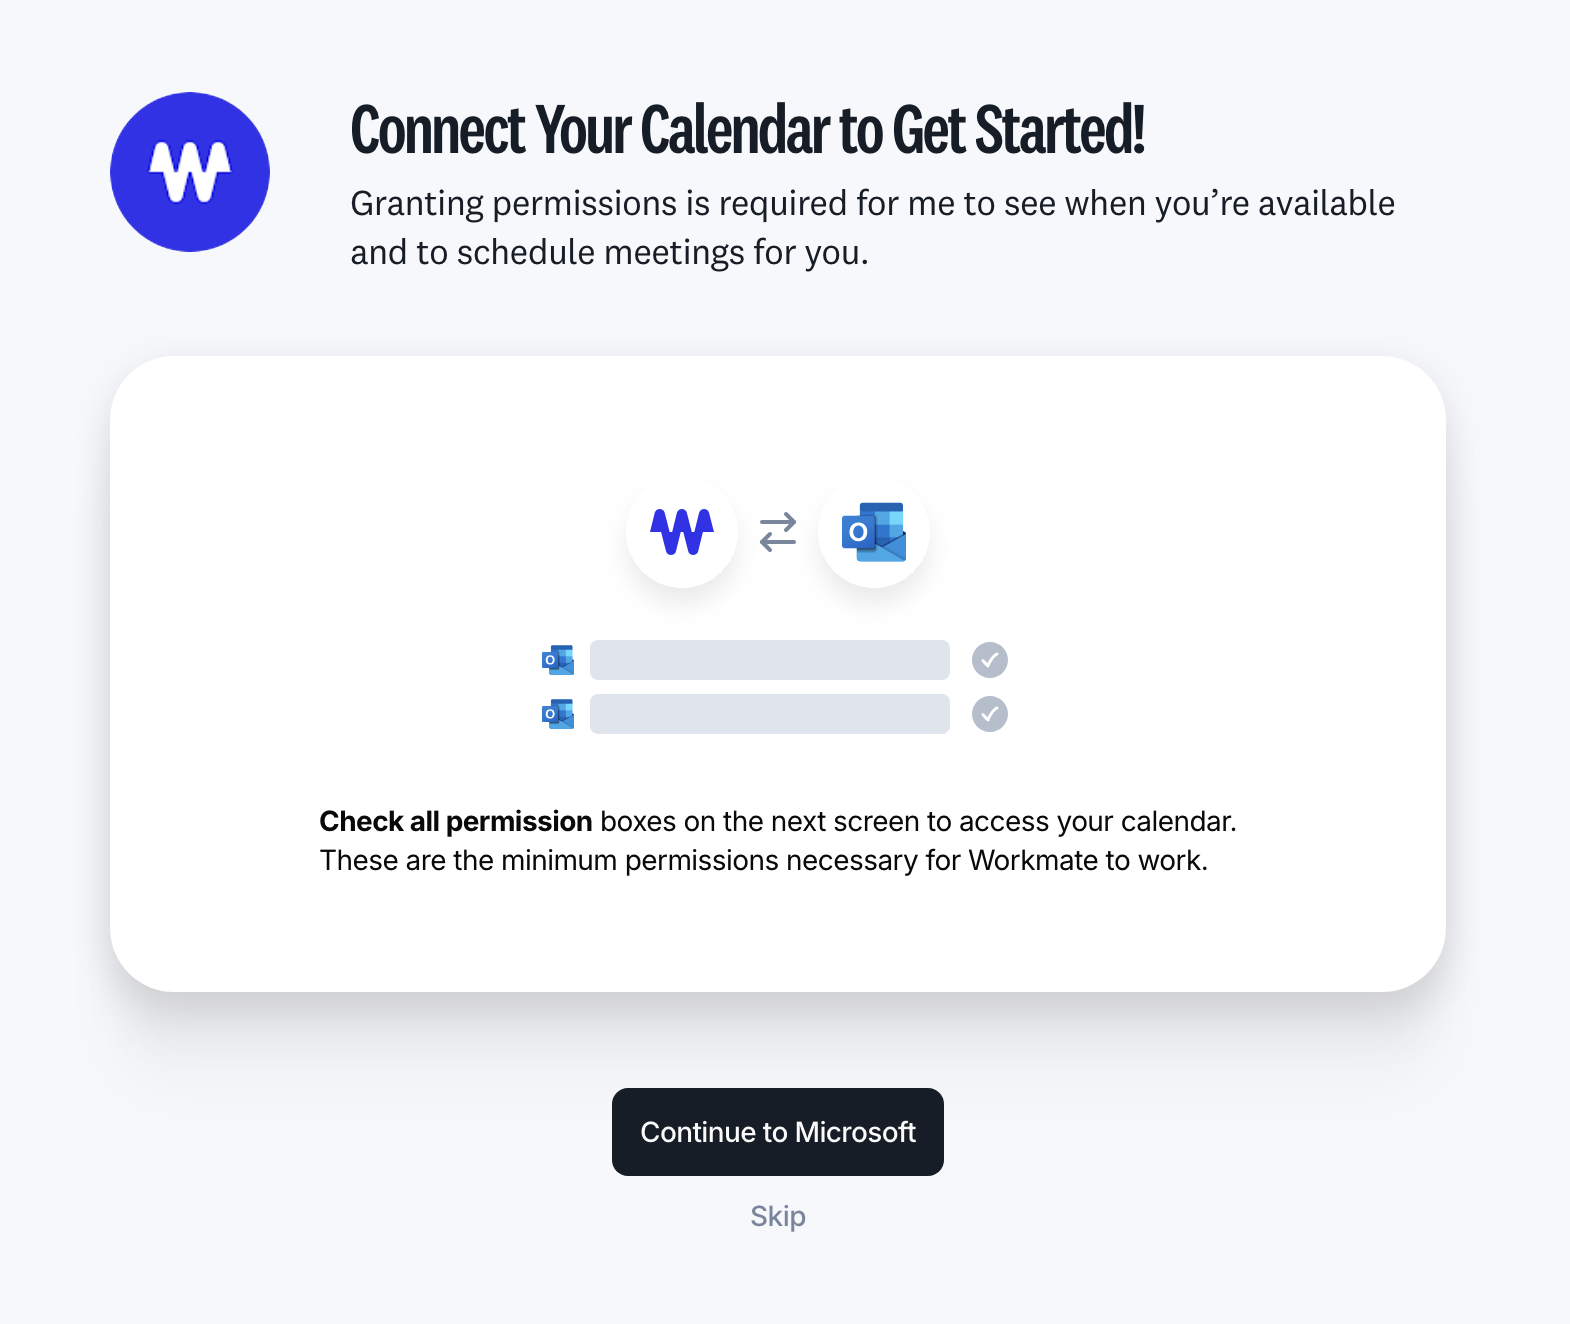
Next, connect the calendar you want Workmate to use for scheduling.
This allows Workmate to:
See when you’re available
Avoid scheduling conflicts
Create calendar events on your behalf
You’ll be asked to approve the necessary permissions for Workmate to access your calendar.
Step 9: Invite teammates (optional)
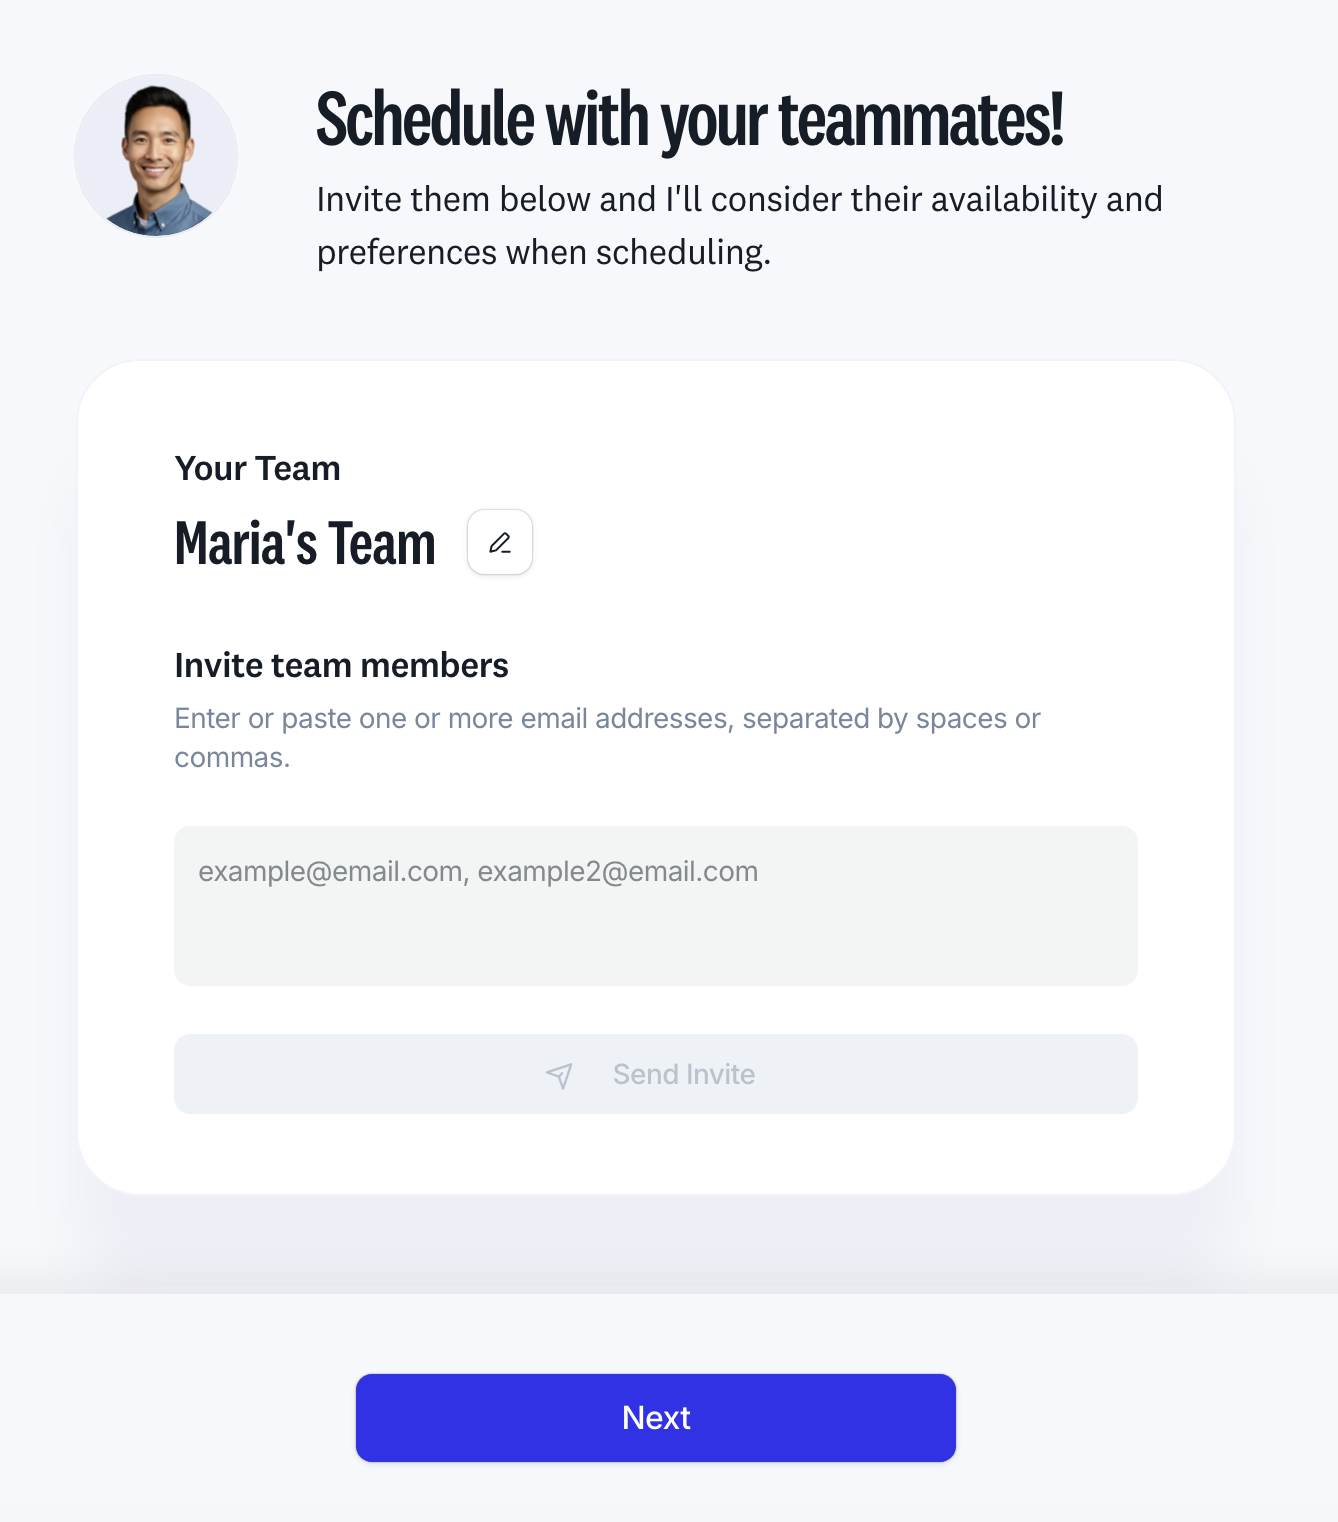
If you work with a team, you can invite colleagues so Workmate can consider their availability when scheduling meetings. You can also skip this step and add teammates later.
You’re all set!
Once setup is complete, you can start scheduling meetings with Workmate.
You can do this by:
CC’ing your Workmate on emails
Sending a message via Slack
Sending an SMS
Emailing Workmate directly
Workmate will handle the coordination and scheduling for you.